How to Fix a Leaking Radiator Valve
TL;DR
Work out whether the leak is at the union nut or the spindle. A union leak often stops with a quarter turn, holding the valve body with a second spanner. A spindle leak needs the gland nut nipping up or a new O-ring, which can usually be done with the valve closed rather than the system drained.
If you have not yet located the source, our guide to finding a radiator leak covers the kitchen paper test.
Leak at the Union Nut
The large nut where the valve meets the radiator, or where it meets the pipe.
Try tightening first
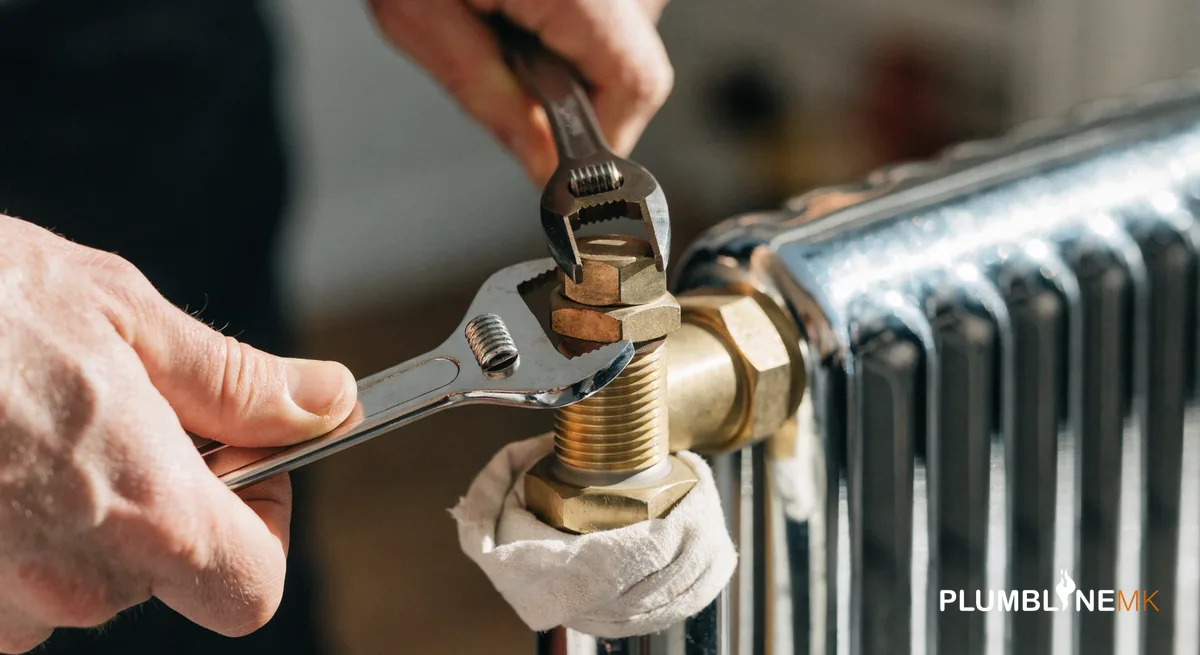
- Fit one spanner to the valve body and hold it firmly. This is the part people skip, and it matters — without it you twist the whole valve and disturb the joint under the floor.
- Fit a second spanner to the union nut.
- Tighten a quarter turn only, then wipe dry and wait ten minutes with the heating running.
- If it still weeps, one more quarter turn. No more than that.
Compression joints seal by compressing a brass olive onto the pipe. Once that olive is deformed past its seat, more force makes it worse. Two quarter turns is the sensible limit.
If tightening does not work
The olive needs replacing, and that means isolating the radiator and opening the joint.
- Close both valves, counting the lockshield turns.
- Bowl and towels underneath.
- Open the bleed valve to release pressure, then crack the union.
- Pull the valve back and inspect the olive. Deformed, scored or oval means replace it.
- Cutting the old olive off usually needs a junior hacksaw, working carefully so as not to score the pipe. A dedicated olive puller is cheap and much safer.
- Fit the new olive, a smear of jointing compound, and reassemble hand-tight plus about one turn.
If the pipe is scored where the old olive sat, the joint will never seal properly and that section needs cutting back — which is where this stops being a DIY job.
Leak at the Spindle
Water appearing from under the head, around the spindle, often only when the valve is turned.
The gland packing or O-ring has perished. Good news: the valve body stays in place, so on most valves this is fixable without draining.
Nipping up the gland nut
Some valves have a small hexagonal nut just below the head. A gentle eighth to quarter turn compresses the packing and often stops the leak entirely.
Replacing the O-ring
- Close the valve fully. With it shut, the spindle seals against its seat, so very little water escapes when the head comes off.
- Remove the head and the gland nut.
- Lift the old O-ring off the spindle and fit the replacement, with a smear of silicone grease.
- Reassemble and test through a full heat cycle.
Have towels ready regardless. If the valve does not fully seat, water will come out and you will need to work quickly or close the system down.
Leak From the Bleed Valve
Close it properly first — most bleed leaks are simply a valve left a fraction open. If it still weeps, the small brass plug can be replaced. Isolate the radiator first, and have a bowl ready.
When the Valve Needs Replacing
- The body is cracked, or the leak comes from the casting rather than a joint
- The spindle is seized and will not turn at all
- Threads are stripped from previous over-tightening
- The valve is corroded to the point of pitting
Any work touching the gas side of a boiler must be done by a Gas Safe Register engineer, though radiator valves themselves are not gas work. Replacing a valve body means draining the system — see our guide to draining a central heating system. It is also the moment to consider whether a thermostatic valve would be an upgrade on a manual one.
After Any Repair
- Reopen the lockshield by exactly the turns you counted.
- Bleed the radiator once the system is running.
- Check boiler pressure and top up to 1 to 1.5 bar cold.
- Check the joint again after a full heat cycle, and once more the next day. Expansion and contraction is what finds a marginal joint.
Frequently Asked Questions
Can I use PTFE tape on a radiator valve?
Not on the compression union — that seals on the olive, and tape on the thread stops the joint pulling up square. It is appropriate on tapered threads, such as the valve tail screwed into the radiator itself.
Why did tightening make it worse?
The olive has been crushed past its seat. It now needs replacing rather than tightening. This is why the two-quarter-turn limit matters.
Do I have to drain the system to change an O-ring?
Usually not, if the valve closes fully. Changing the valve body itself does need draining.
The leak only appears when the heating comes on.
Thermal expansion opens a marginal joint. Real leak, just intermittent conditions — fix it rather than waiting for it to become constant.
If the Joint Will Not Seal
A union that leaks after a new olive usually means the pipe is scored or out of round, and that section needs cutting back and remaking. We cover Milton Keynes and the surrounding area for heating repairs. Get in touch.
Need Professional Advice?
Our Gas Safe registered engineers are ready to help with all your heating needs. Get a free, no-obligation quote today.