How to Remove a Radiator for Decorating
TL;DR
Close the thermostatic valve at one end and the lockshield at the other, counting the turns on the lockshield so you can reset it exactly. Open the bleed valve to release pressure, then crack the union nuts with a bowl underneath. The water inside is black and stains everything, so put down more protection than you think you need.
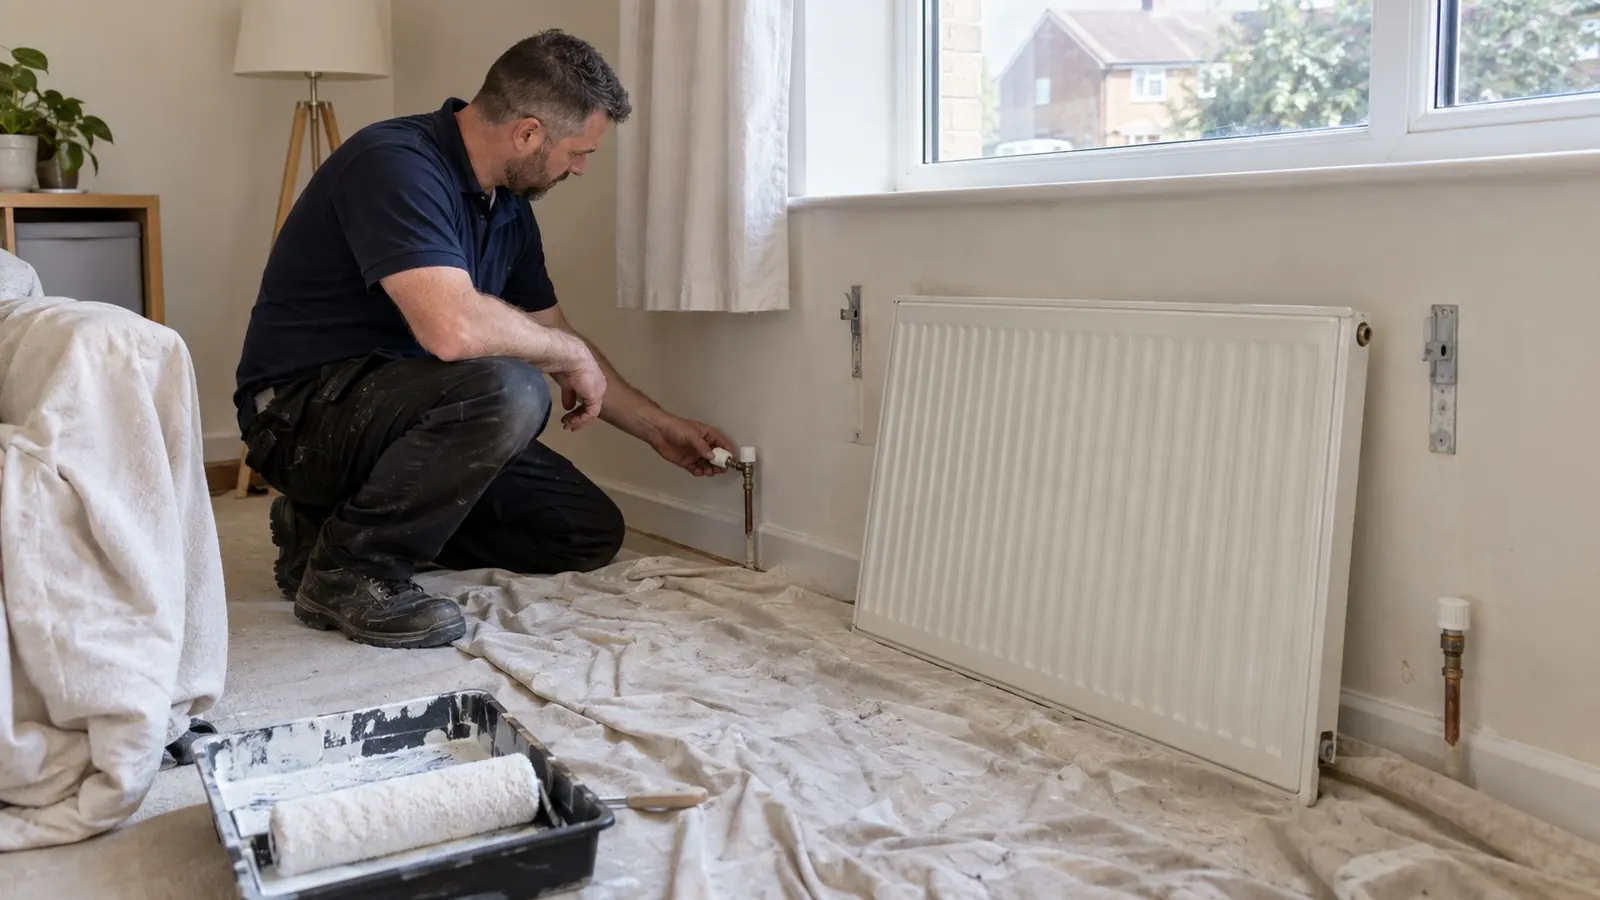
Removing a radiator to decorate behind it, or to replace it, is genuinely a half-hour job. It only goes wrong in two ways: not isolating both ends properly, and underestimating how much filthy water is sitting inside.
Get those two right and the rest is straightforward.
What You Need
- Two adjustable spanners, or a spanner and a pair of grips
- A radiator bleed key
- A washing-up bowl and a wider shallow tray
- Old towels - more than you expect
- A dust sheet or plastic sheeting
- Cling film or two small plastic bags and elastic bands
Step 1: Close Both Valves
A radiator has a valve at each end and both must be closed.
The thermostatic or manual valve
Usually on the flow side, with a numbered dial or a wheel head. Turn it fully clockwise to zero or off.
One caution on older thermostatic valves: the pin underneath can stick down after being open for years, so the valve reads closed but is not. If you are unsure, pull the head off and check the pin springs back when pressed.
The lockshield valve - count the turns
The other end has a plain plastic cap over a small square spindle. Lift the cap off, fit a spanner to the spindle, and close it clockwise.
Count the turns as you close it and write the number down. That setting is the radiator's balance - how much flow it gets relative to every other radiator in the house. Reopen it by exactly the same amount afterwards and the system stays balanced. Guess, and you will have created a new problem for later. Our guide to balancing radiators explains why that matters.
Step 2: Drain the Radiator
- Lay the dust sheet, then towels, then position the bowl under the valve you will loosen first.
- Open the bleed valve at the top with the key. Nothing should come out yet - this lets air in as water leaves.
- Loosen the union nut on one valve slowly, a quarter turn at a time. Water will start to run.
- Let it drain into the bowl. Swap bowls as needed and keep the tray underneath for the swap.
- When the flow stops, close the bleed valve, then tilt the radiator toward the open end to move the remaining water out. There is always more.
- Once it is running slow, undo the second union nut too.
A double panel radiator holds a surprising volume. Take your time here rather than rushing the nut off and watching it come out all at once.
Step 3: Lift It Off
Radiators sit on wall brackets and lift straight up and off. They are heavier than they look, especially a double panel, so get help for anything over about a metre wide.
Before you move it: seal both open ports with cling film or a plastic bag and an elastic band. There is always residual water and it will find your carpet the moment you tilt it.
Carry it outside, or lay it on the dust sheet with the ports raised.
Step 4: Refitting
- Lift it back onto the brackets and check it sits level.
- Do both union nuts up finger-tight first, so nothing cross-threads.
- Tighten with two spanners - one holding the valve body, one on the nut. Holding the body stops the twist transferring into the pipework under the floor.
- Firm, not brutal. These joints seal on a tapered olive, not on force.
- Open the lockshield by exactly the number of turns you counted.
- Open the thermostatic valve fully.
- Bleed the radiator until water appears, then close the bleed valve.
- Check the boiler pressure and top up to 1 to 1.5 bar if needed - see our guide to repressurising a boiler.
- Run the heating and check both unions with dry kitchen paper after ten minutes, and again after an hour.
The Mistakes That Cause Trouble
- Not counting the lockshield turns. The single most common one. You will not remember, and the system comes back unbalanced.
- Undoing a nut quickly. Crack it slowly and let the pressure tell you what is happening.
- Not holding the valve body. Twisting the whole valve can turn a floorboard-level joint that you cannot see, and that leak appears hours later.
- Skimping on protection. Heating water permanently stains. Cover more than seems necessary.
- Forgetting to repressurise. Removing a radiator drops system pressure, and a combi will lock out on low pressure.
If the Water Comes Out Black
Some discolouration is normal. Thick black sludge is not - it means significant internal corrosion, and it is the same material that causes cold spots at the bottom of radiators and shortens pump life.
Anglian Water publishes hardness figures by postcode, and hard water accelerates the scaling that goes hand in hand with this. If what comes out looks like ink and has grit in it, the system would benefit from a power flush and a magnetic filter. Our guide to a radiator that will not heat up covers the symptoms.
Frequently Asked Questions
Do I need to drain the whole system?
No. Closing both valves isolates that one radiator, so only the water inside it comes out. Draining the system is only needed if a valve itself is being replaced.
How much water is inside a radiator?
Anywhere from a couple of litres for a small single panel to well over ten for a large double. Assume more rather than less.
My lockshield valve will not turn.
Years of scale can seize the spindle. Penetrating oil and patience rather than force - the spindle is small and shears easily. If it will not move, stop before you break it.
Can I leave the radiator off over winter?
Yes, provided both valves are fully closed and capped. Blanking caps are inexpensive and safer than relying on a closed valve alone if the wall is going to be worked on.
If a Valve Is Seized or Leaking
A valve that will not close, or one that weeps after refitting, usually needs replacing - and that does mean draining down. We cover Milton Keynes and the surrounding area for heating repairs. Get in touch if you would rather not risk it.
Need Professional Advice?
Our Gas Safe registered engineers are ready to help with all your heating needs. Get a free, no-obligation quote today.