How to Fit an Outside Tap
TL;DR
You need a double check valve between the internal supply and the outside tap - this is a legal requirement, not an optional extra, and it stops garden water being siphoned back into the drinking supply. Fit an internal isolation valve too so the tap can be drained before winter. A self-cutting tap connector avoids draining the system, but a soldered or compression tee is a sounder long-term job.
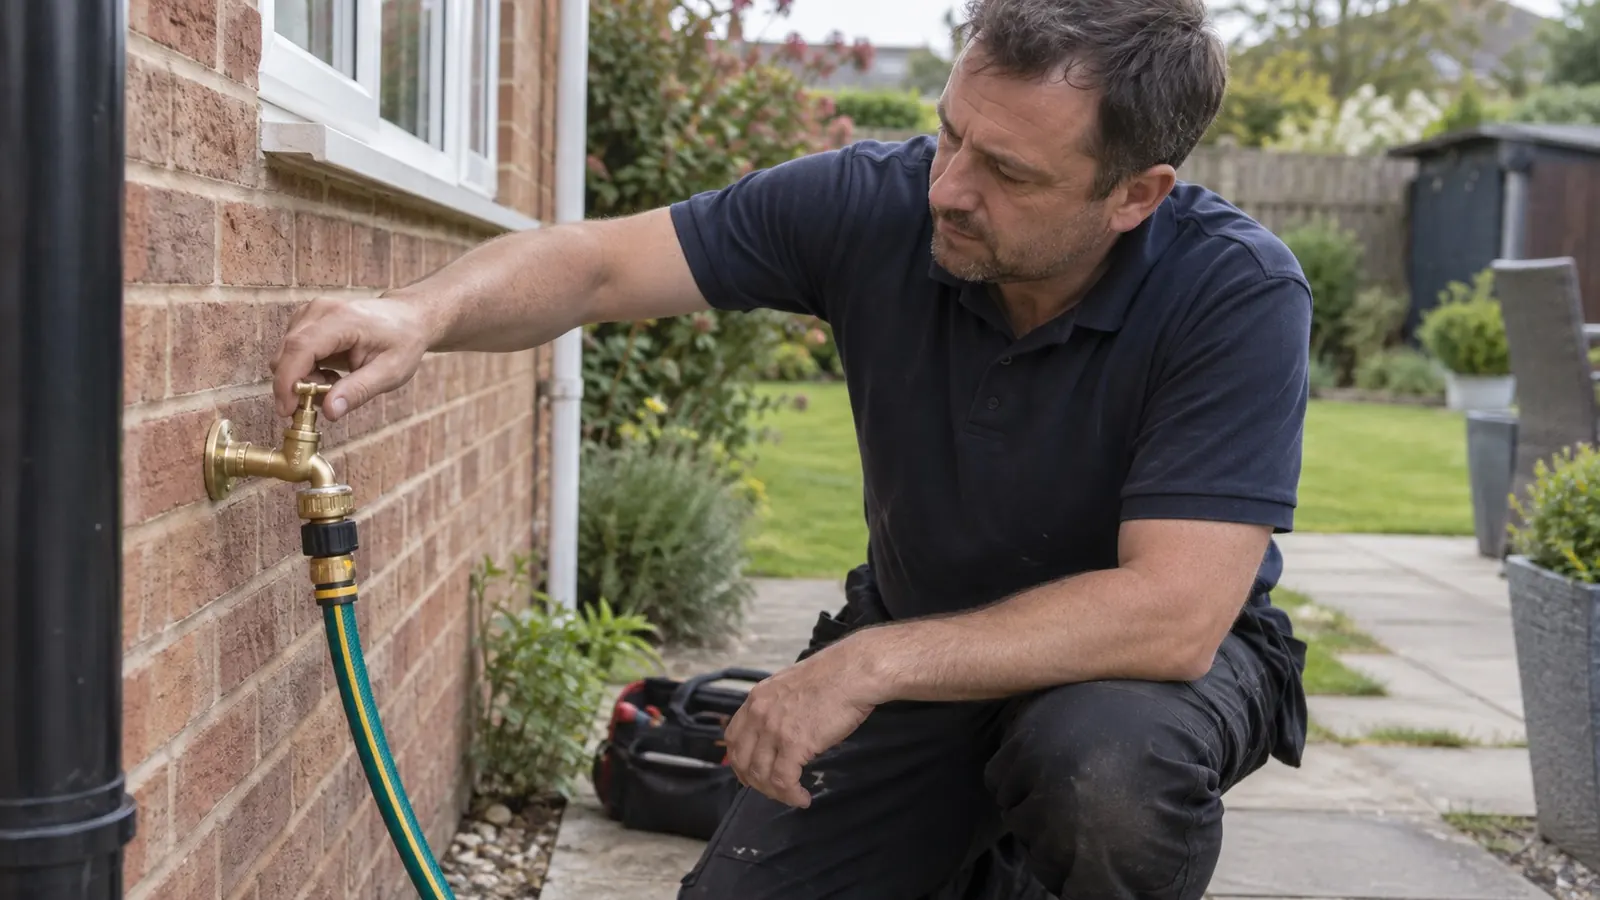
An outside tap makes filling watering cans, washing cars and rinsing muddy boots far easier, and fitting one is well within reach for a competent DIYer. There is one requirement that is not optional, though, and it is the part most guides gloss over.
The Rule You Cannot Skip
An outside tap must have a double check valve fitted on the supply. This is a requirement of the Water Supply (Water Fittings) Regulations, not a manufacturer's preference.
The reason is backflow. If mains pressure drops - a burst nearby, or work on the network - water can be drawn backwards through the pipework. A hose left lying in a pond, a water butt or a bucket of garden chemicals then becomes a route for that water to enter the drinking supply. A double check valve makes flow one-way only.
Many outside taps sold in the UK have the check valve built into the body. If yours does not, fit a separate one inside the house on the supply pipe. The Chartered Institute of Plumbing and Heating Engineering has guidance on backflow prevention if you want the detail.
What You Need
- Outside tap, ideally with an integral double check valve
- A wall plate elbow to take the tap
- 15mm copper pipe and fittings, or a self-cutting tap connector
- An isolation valve for indoors
- Long masonry drill bit - 20mm or so, and long enough to pass through the wall
- PTFE tape, adjustable spanner, silicone sealant
Choosing Where to Put It
Siting requirements for outside taps and backflow devices sit within the water fittings regulations, summarised by the Chartered Institute of Plumbing and Heating Engineering. Practical considerations that matter more than they sound:
- Close to an existing cold pipe. The kitchen sink supply is the usual choice because it is a mains-fed cold pipe and it is normally on an outside wall.
- Avoid drilling through a cavity wall at an awkward angle. Drill slightly downward from inside to outside so any water in the sleeve drains outward.
- Think about winter. A tap on an exposed north-facing wall freezes first.
- Check what is in the wall before drilling. Use a detector for cables and pipes.
The Sequence
1. Isolate and prepare
Turn off the water at the internal stopcock and open the kitchen cold tap to drain the pipe. If you are using a self-cutting connector you can skip draining, but a properly cut tee is the sounder job.
2. Drill through the wall
Mark your position inside, check for services, and drill through with the long masonry bit, angling very slightly downward toward the outside. Take it slowly through the outer leaf so you do not blow a lump out of the brick face.
3. Tee into the supply
Cut into the cold pipe and fit a tee - compression fittings are easiest for DIY and perfectly sound. Immediately after the tee, fit your isolation valve, then run 15mm pipe toward the wall.
Fit the double check valve here if the tap does not have one built in.
4. Through the wall and onto the plate
Pass the pipe through, connect it to the wall plate elbow outside, and screw the plate securely into the brickwork - into brick rather than mortar, using proper wall plugs.
5. Fit the tap
Wrap the tap thread in PTFE tape, five or six turns in the direction the thread tightens, and screw it into the wall plate. Aim to finish with the outlet pointing downward.
6. Seal and test
Silicone around where the pipe passes through the wall, on the outside, to keep driving rain out. Turn the water back on slowly and check every joint - inside and out - with dry kitchen paper.
Protecting It From Frost
This is why the internal isolation valve matters. Every autumn:
- Close the internal isolation valve.
- Open the outside tap fully and leave it open all winter so any remaining water can expand without splitting the pipe.
- Fit an insulated cover over the tap.
A frozen outside tap that splits usually leaks inside the wall when it thaws, which is far more expensive than the tap. Our guide to finding a water leak covers what that looks like when it happens.
Self-Cutting Connectors
These clamp onto the existing pipe and drive a small cutter through the wall of it, so no draining is needed. They are quick and popular.
The trade-offs are worth knowing: the hole they cut is small, so flow is restricted; they rely on a rubber seal clamped against the pipe rather than a proper joint; and they are a common source of slow weeps years later. For a job you want to forget about, a soldered or compression tee is better.
Frequently Asked Questions
Do I need permission to fit an outside tap?
No approval is needed, but the installation must comply with the water regulations - which is where the double check valve requirement comes from. Some suppliers ask to be notified.
Will it increase my water bill?
Only through use. On a metered supply, garden watering is billed like any other water. On an unmetered supply, some companies apply a charge for a garden tap - worth checking your tariff.
Can I connect it to the hot supply as well?
You can fit an outside mixer, but it complicates frost protection considerably and is rarely worth it for garden use.
My outside tap drips constantly.
Same as any tap - usually a worn washer. Our guide to changing a tap washer applies, though outside taps often use a slightly larger washer.
If You Would Rather It Was Fitted Properly
The parts of this job that go wrong - backflow protection, the tee into the main, and frost protection - are the parts that are expensive to put right later. We cover Milton Keynes and the surrounding area for plumbing installation. Get in touch.
Need Professional Advice?
Our Gas Safe registered engineers are ready to help with all your heating needs. Get a free, no-obligation quote today.