How to Change a Tap Washer: Full Guide
TL;DR
Isolate the water, plug the plughole, then remove the handle cap, screw, handle and shroud to reach the headgear. Undo the headgear nut with an adjustable spanner, lift the spindle out, and swap the rubber washer on the bottom. Take the old washer with you when buying - sizes vary and a close match will not seal.
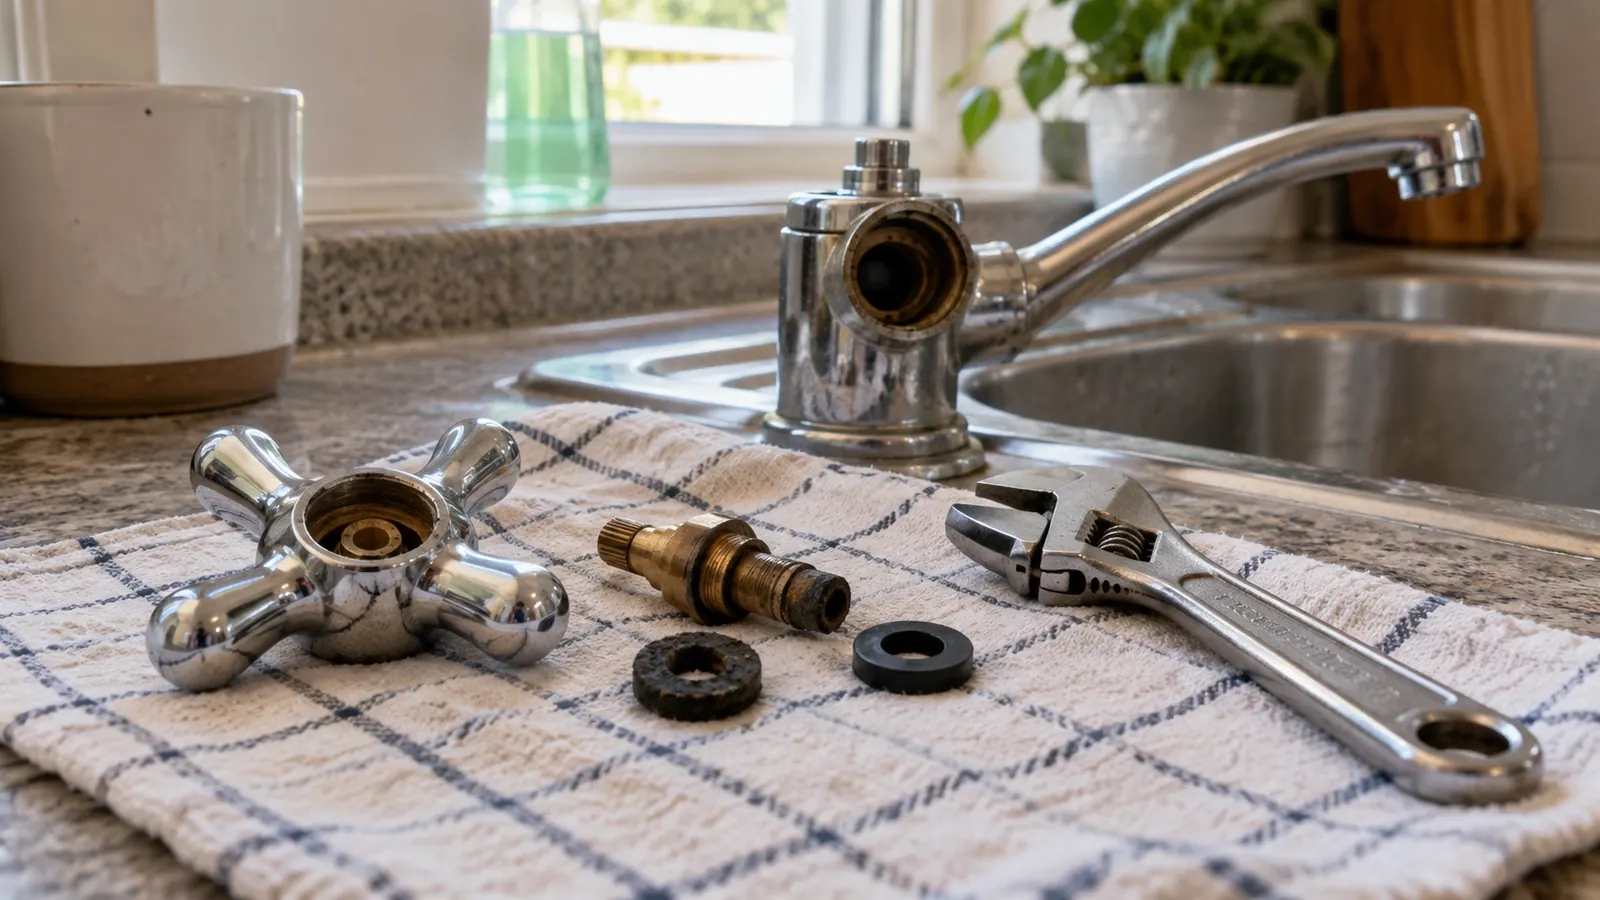
Changing a tap washer is one of the few plumbing jobs that genuinely is as simple as it sounds. The parts cost pennies, the tools are ones most people own, and the whole thing takes about twenty minutes once the water is off.
This applies to traditional taps - the kind where the handle turns through several full rotations. If your tap opens with a quarter turn, it has a ceramic cartridge instead and there is no washer to change; our guide to fixing a dripping tap covers that variant.
What You Need
- An adjustable spanner
- A flat and a cross-head screwdriver
- A cloth to protect the chrome
- Replacement washers - take the old one to match
- A little silicone grease, useful but optional
Step 1: Isolate and Drain
Find the isolation valve on the pipe under the tap and turn it a quarter turn so the slot sits across the pipe. No valve means using the main stopcock instead.
Open the tap fully and let it run dry. Leave it open - that releases any residual pressure and tells you immediately if the isolation has not worked.
Put the plug in. Every part you are about to remove is small enough to vanish down the plughole.
Step 2: Get the Handle Off
On most traditional taps there is a small plastic cap on top marked hot or cold. Slide a thin flat screwdriver under the rim and lift it - it clips rather than screws.
Underneath is a retaining screw. Undo it fully and lift the handle straight up. If it will not budge, do not lever against the basin. Put the screw back a couple of turns, then tap upward against the screw head - that pushes the handle off from beneath without cracking it.
Step 3: Remove the Shroud and Headgear
Below the handle is a chrome shroud covering the working parts. It usually unscrews by hand. If it is tight, wrap it in a cloth and use the spanner gently - bare jaws on chrome leave marks that never come out.
That exposes the headgear nut. Fit the adjustable spanner squarely and turn anticlockwise.
Two things to be careful about here. Hold the tap body steady with your other hand so you are not twisting the whole tap against its fixings under the basin. And if the nut is seized with limescale, a penetrating spray and ten minutes of patience beats increasing force - over-torquing can crack the tap body or, worse, spin the tap and damage the supply pipe below.
With the nut off, the headgear and spindle lift out as one piece.
Step 4: Swap the Washer
The washer sits on the very bottom of the headgear. It is either held by a small nut, or simply pushed onto a spigot.
- If there is a nut, undo it while holding the spindle. It can be stiff.
- If it is a push fit, prise the old washer off with a flat screwdriver.
- Note which way round it sits. Most are flat on one side and slightly domed on the other.
- Fit the new one, same orientation, and refit the retaining nut if there is one.
While the headgear is out, look at its threads and the O-ring around the spindle. A perished O-ring lets water weep up around the handle when the tap is running, and replacing it now costs nothing extra. A smear of silicone grease on the threads makes the next repair much easier.
Step 5: Check the Seat
Before reassembling, shine a torch down into the tap body at the brass seat the washer presses against. It should be smooth.
If it is pitted, scored or has a visible ridge, a new washer will not fully seal and the tap will drip again within weeks. The remedy is a reseating tool, which cuts the brass flat, or a seating washer that sits over the damage. Both are inexpensive and worth doing while the tap is already apart.
In hard water areas the seat is often coated in scale rather than damaged - that can be cleaned off carefully with a descaler, which is a much better outcome. Anglian Water publishes hardness figures by postcode if you want to know what you are dealing with.
Step 6: Reassemble and Test
- Drop the headgear back in and tighten the nut firmly, without straining it.
- Refit the shroud, handle, screw and cap.
- Close the tap before turning the water back on, or you will get a surprise.
- Open the isolation valve slowly, a quarter turn at a time.
- Run the tap. It will spit air briefly. Then close it and watch for a full minute.
Check under the basin with dry kitchen paper before you finish. A weep at the headgear usually means the nut needs another fraction of a turn; a weep at the supply connection is a separate problem.
Buying the Right Washer
The Chartered Institute of Plumbing and Heating Engineering has guidance on domestic tap maintenance if you want the background. In practice there is no single standard washer size. The reliable approach is to take the old washer to the shop and match it, or buy a mixed pack, which costs very little and means you have spares for the next tap.
The two most common domestic sizes are half inch for basin and sink taps and three quarter inch for bath taps, but there are enough exceptions that guessing is a false economy.
Frequently Asked Questions
How do I know if my tap has a washer or a cartridge?
Turn the handle. If it rotates several full turns from off to fully open, it has a washer. If it stops after a quarter turn, it has a ceramic cartridge and there is no washer inside.
The headgear nut will not move. What now?
Apply penetrating oil and wait ten minutes rather than applying more force. Hold the tap body firmly so you are not transferring the twist to the pipework underneath, which is how a simple repair turns into a leak inside a cupboard.
Why does my tap still drip after a new washer?
Almost always a worn seat. The washer cannot seal against a pitted brass surface. Reseat it or fit a seating washer.
Can I use any washer I have lying around?
Only if it matches in diameter and thickness. Too small and it will not cover the seat; too thick and the tap will not close fully. Matching the old one is the only reliable method.
If the Tap Is Beyond a Washer
Seized headgear, a corroded body or a badly pitted seat all tip the balance toward replacement rather than repair. We cover Milton Keynes and the surrounding villages for tap repairs and replacement. Get in touch and describe what you have found.
Need Professional Advice?
Our Gas Safe registered engineers are ready to help with all your heating needs. Get a free, no-obligation quote today.