How to Fit a Toilet: Step-by-Step Guide
TL;DR
Measure the soil pipe position before buying anything: its height off the floor and distance from the wall decide which pan and connector you need. Build the cistern onto the pan on the floor, push the connector home without sealant, flush-test before you screw the pan down, and never overtighten anything into ceramic. Measure the seat fixings separately, because pans are not a standard size. If the floor is soft or the pipe needs moving, stop and get a plumber.
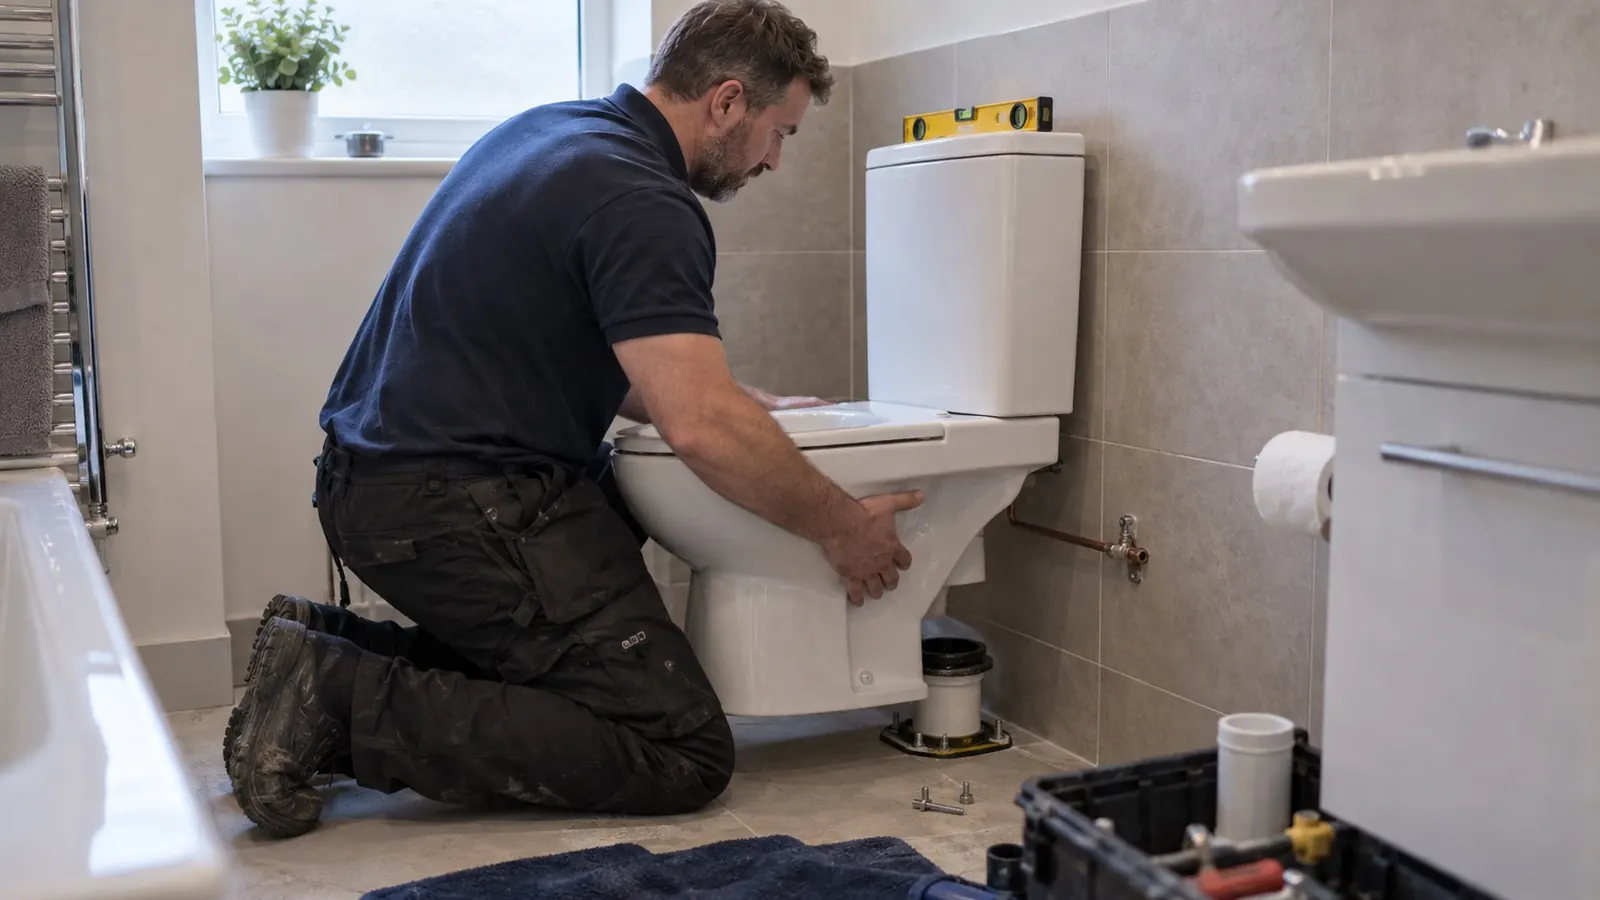
Fitting a toilet is within reach of a careful DIYer and the job itself is not difficult. What catches people out is buying first and measuring second, because the position of the soil pipe decides which pan will actually fit. Get the measuring right and the rest is a couple of hours and a bit of patience with old fixings.
Measure before you buy
Three measurements decide everything:
- Soil pipe centre height from the finished floor. This decides whether you need a straight, angled or offset pan connector.
- Distance from the wall to the centre of the soil pipe.
- Available width, especially if the toilet sits between a wall and a basin or bath.
Also identify the outlet on your existing pan: horizontal (straight back into the wall), P-trap (out the back and down) or S-trap (straight down through the floor, common in older houses). Buying a pan with the wrong outlet is the single most common mistake, and it is not one you can fix with a connector.
Choosing the pan connector
The connector joins the pan outlet to the soil pipe. Your options:
- Straight: when the pan outlet lines up with the soil pipe.
- Angled (usually 14 or 90 degrees): for a modest change of direction.
- Offset: shifts the outlet a few centimetres up, down or sideways. Useful when a new pan does not quite match the old position.
- Flexible: copes with awkward alignments. Handy, but the ribbed inside catches paper and waste more than a smooth bore, so use a rigid connector wherever you can. A flexible connector hidden behind a pan is where a lot of "it blocks every few months" complaints start.
Removing the old toilet
- Turn off the water at the isolation valve on the supply pipe, or at the stopcock if there is no valve.
- Flush and hold the handle down, then sponge the cistern dry.
- Disconnect the supply pipe with a bowl underneath.
- Undo the cistern fixings, both to the wall and the bolts through into the pan, and lift the cistern off.
- Undo the screws holding the pan to the floor. They are usually corroded. Penetrating oil and patience beat force, because forcing a screw is how pans crack.
- Rock the pan gently side to side to free it from the connector and lift it clear.
- Stuff a rag into the open soil pipe straight away. It keeps drain smells out of the room and stops anything falling in.
If the floor under the old pan is soft, dark or damp, stop here. That is a floor repair before it is a toilet job.
Fitting the new toilet
Build the cistern first. It is far easier to fit the flush valve, fill valve and doughnut washer with the cistern on the floor than up on the pan.
- Fit the flush valve through the base with its rubber washer and tighten the back nut hand-tight plus a small nip.
- Fit the fill valve, with the washers the right way round. Use a fill valve that carries approval for use under the Water Supply (Water Fittings) Regulations 1999; this is what stops cistern water being drawn back into the mains.
- Sit the large doughnut washer over the flush valve outlet.
- Bolt the cistern to the pan, tightening the two bolts a little at a time, alternating sides. Even pressure is what stops ceramic cracking.
Position and connect.
- Push the pan connector onto the pan outlet.
- Offer the whole toilet up and slide the connector into the soil pipe. It should go home firmly with hand pressure. Do not use sealant. These joints seal on rubber fins, and sealant stops them seating.
- Check the pan sits flat. If it rocks, use plastic packers under it rather than pulling the fixings down onto an uneven floor.
- Mark the fixing holes, move the toilet aside and drill.
Test, then fix down, in that order.
- Reconnect the supply and turn it on. Let the cistern fill and flush two or three times before you fix anything down.
- Watch the connector joint and the base of the pan for any sign of water.
- Only once it is dry, screw the pan to the floor. Firm, not tight, using the plastic washers supplied.
- Run silicone around the base, but leave a gap of a few centimetres at the back. A fully sealed base traps a slow leak against the floor, and the first you know of it is a rotten floorboard. The gap lets a leak show as a drip instead.
Fitting the seat
New pans usually come with a seat. If yours did not, or you are replacing a seat on an existing pan, measure before buying because pans are not standardised. Three measurements: the distance between the centres of the two fixing holes, the width of the pan at its widest, and the length from the fixing holes to the front edge. Note the shape too: round, D-shape, oval or square. A D-shape seat on an oval pan will never sit flush however close the numbers are.
- Drop the bolts through the hinges and the pan holes, fit every washer supplied in the order shown, and put the nuts on finger-tight.
- Square the seat up, centred and closing without catching, then tighten. Firm is enough. Overtightening cracks the ceramic around the holes, which is thin.
- Re-tighten a month later. Everything settles, and a seat that slides sideways is nearly always loose nuts or a missing washer.
Removing an old seat is where the time goes. Metal fixings corrode and plastic ones go brittle and spin. Spray penetrating oil from below and leave it fifteen minutes. If the bolt spins with the nut, hold the bolt head from above with pliers. If nothing moves, cut it: a junior hacksaw blade, or a multi-tool if you have one, goes through a plastic or brass fixing in a couple of minutes. Protect the ceramic with masking tape or card while you cut. Soft-close hinges are worth having, and on most decent seats the hinge or damper is replaceable on its own when it wears.
The leaks that turn up a week later
- Doughnut washer not seated evenly: leaks only when you flush, from between cistern and pan.
- Pan connector not fully home: smells first, then water at floor level.
- Supply connection overtightened: the washer distorts and weeps. Back it off and redo it hand-tight plus a nip.
- Pan rocking: movement slowly breaks the connector seal. Pack it properly from the start.
- Cistern running or refilling on its own: a fill or flush valve problem rather than a fitting problem. Our guide to fixing a running toilet covers it.
When to get someone in
Get help if the soil pipe needs moving, if the floor under the old toilet is soft or damp, if the pipework is lead or cast iron, or if the toilet is on a macerator. Each of those turns a straightforward swap into a different job. Repositioning a toilet means re-running the soil pipe with the correct fall, and Approved Document H of the Building Regulations sets out the requirements for foul drainage. A like-for-like swap in the same spot does not need Building Regulations approval; moving it or adding a new WC where there was none generally does.
Frequently asked questions
Should I put sealant on the pan connector?
No. It seals on rubber fins and sealant stops them seating. If a connector needs sealant to hold, it is the wrong connector.
Why does my new toilet smell?
Nearly always the pan connector not pushed fully into the soil pipe, letting drain air past. Check that before anything else.
How tight should the floor screws be?
Tight enough to stop movement, no tighter. Ceramic has almost no give and the crack usually appears days later, not immediately.
Are toilet seats a standard size?
No. Hole centres, width, length and shape all vary. Many seats have slotted hinges that cover a range of hole centres, so check the stated range against your measurement.
Can I replace just the hinges on a soft-close seat?
Often, yes. The damper is the part that fails, and on a good seat it is sold separately.
If it has gone beyond a swap
If the soil pipe needs moving, the floor has gone, or you would simply rather someone else did it, we cover Milton Keynes and the surrounding towns for bathroom plumbing and toilet replacement. Send us your measurements and a photo and we will tell you what is involved before anyone turns up.
Need Professional Advice?
Our Gas Safe registered engineers are ready to help with all your heating needs. Get a free, no-obligation quote today.